BrewPi Soldering Guide
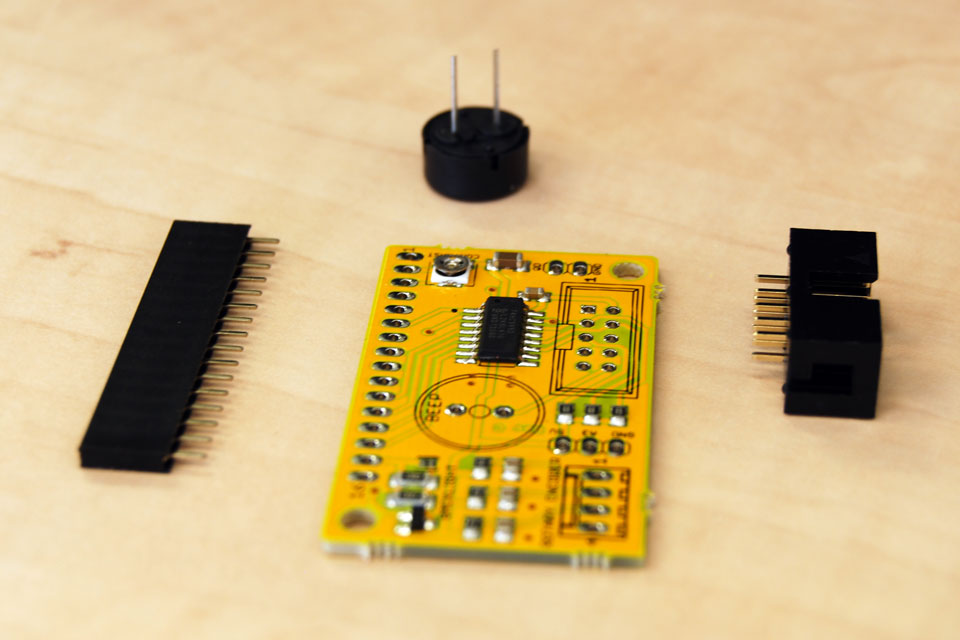
On the LCD backpack, you will solder the other boxed header, the 16p female header for the LCD and the speaker.
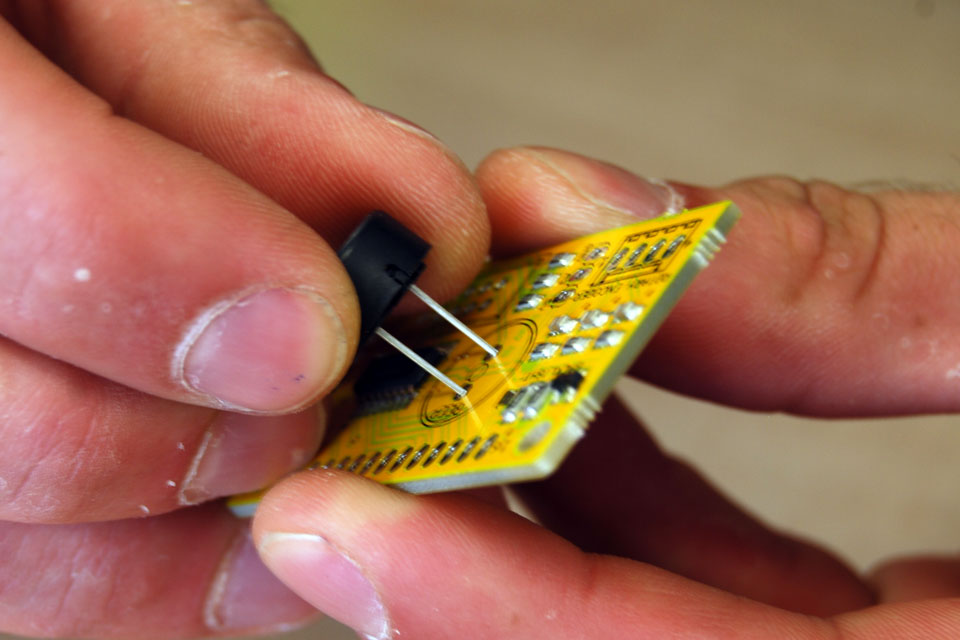
Insert the speaker on the side with the marking, the orientation doesn’t matter.
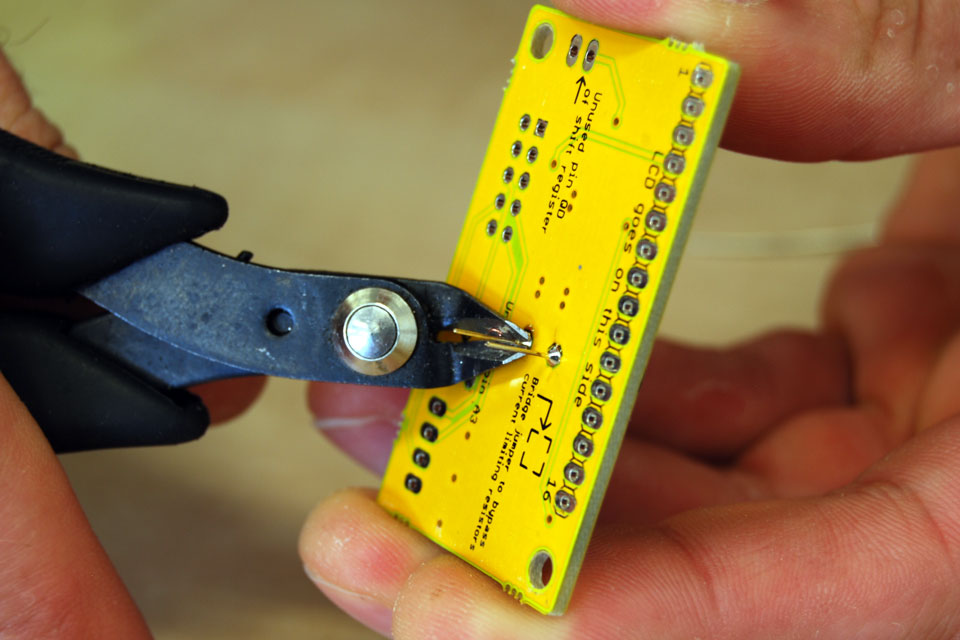
After soldering the speaker, cut of the pins with with your side cutter.

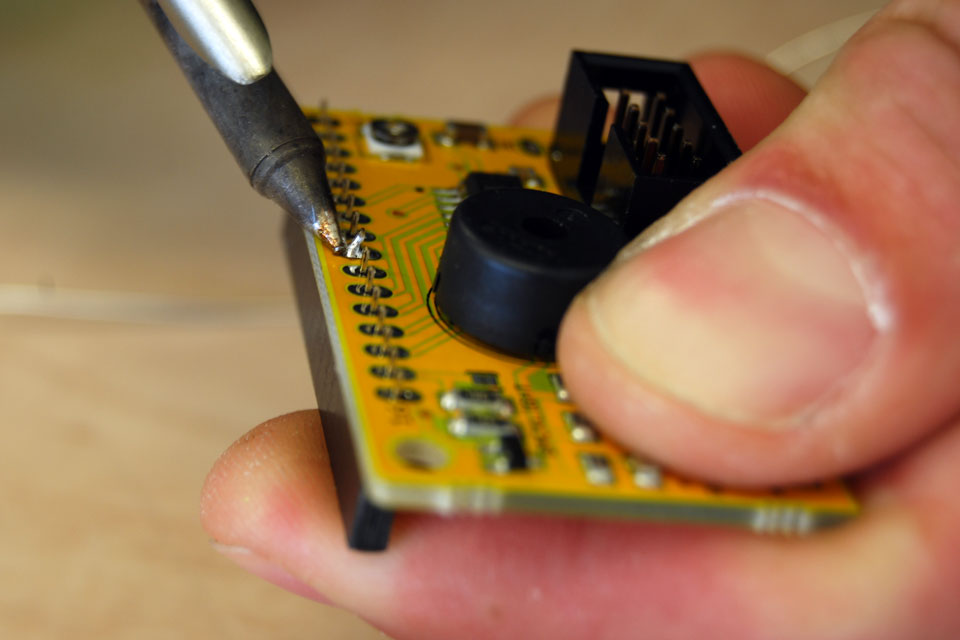
Next is the boxed header. Insert it with the opening facing the IC.
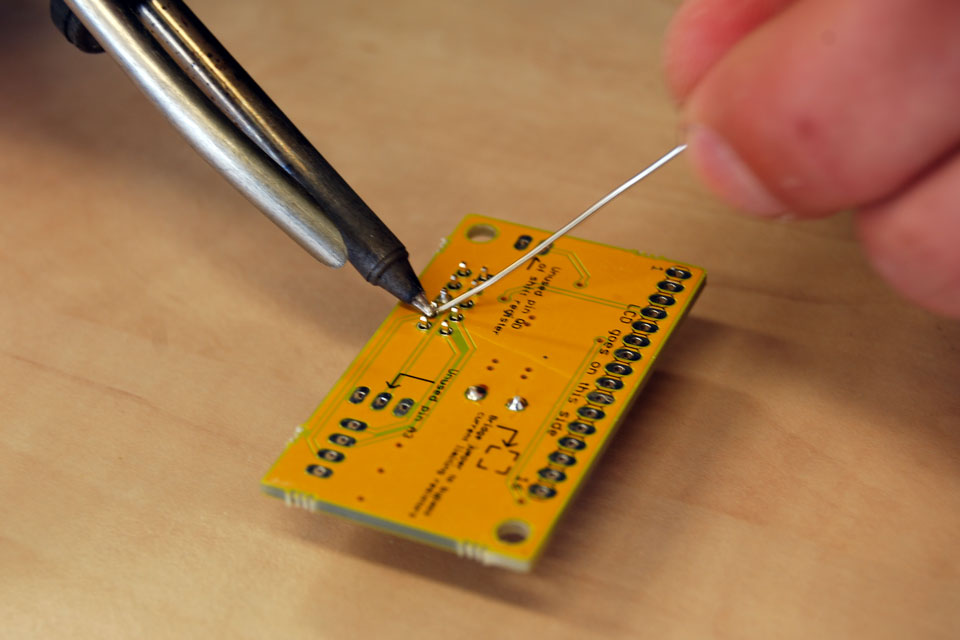
While soldering the boxed header, make sure it stays pressed flat against the board.
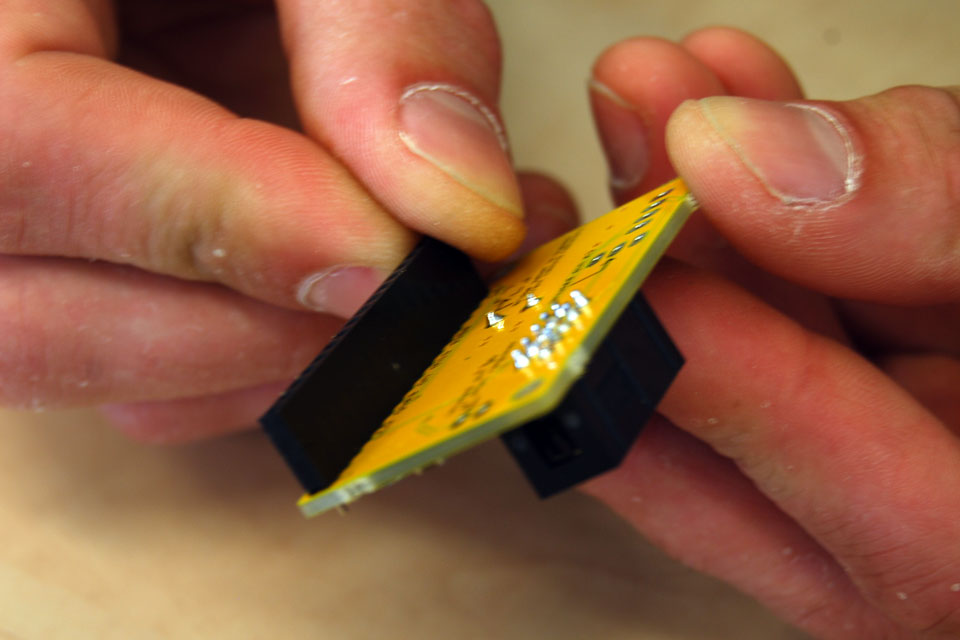
Insert the female header for the LCD on the side that says ‘LCD goes on this side’
Like before, it is easy to straighten up the connector with only the middle pin soldered.
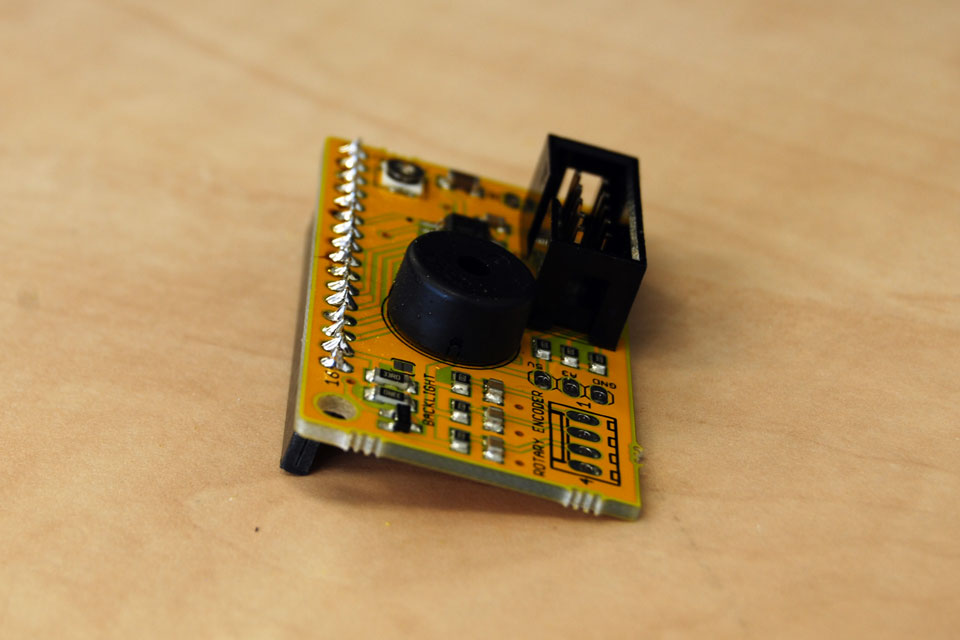
Solder the rest of the pins and the LCD backpack is done!
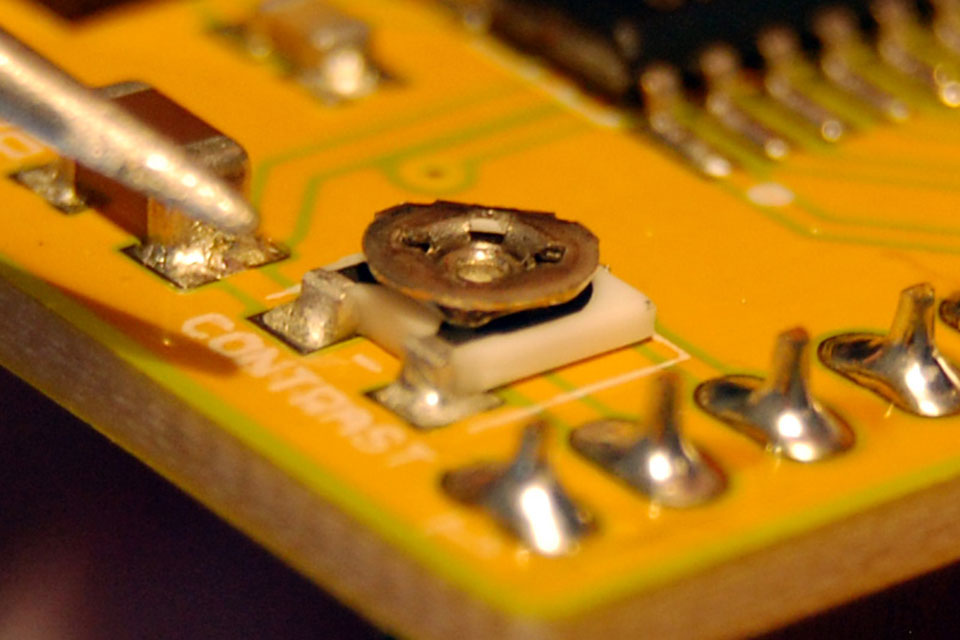
There is a trimpot on the LCD backpack to adjust the contrast of your display. If you look at it from the side, you can actually see the taper. This is the position for maximum contrast. If your display is blank, it is likely you have set the contrast too low. (photo from RevA)
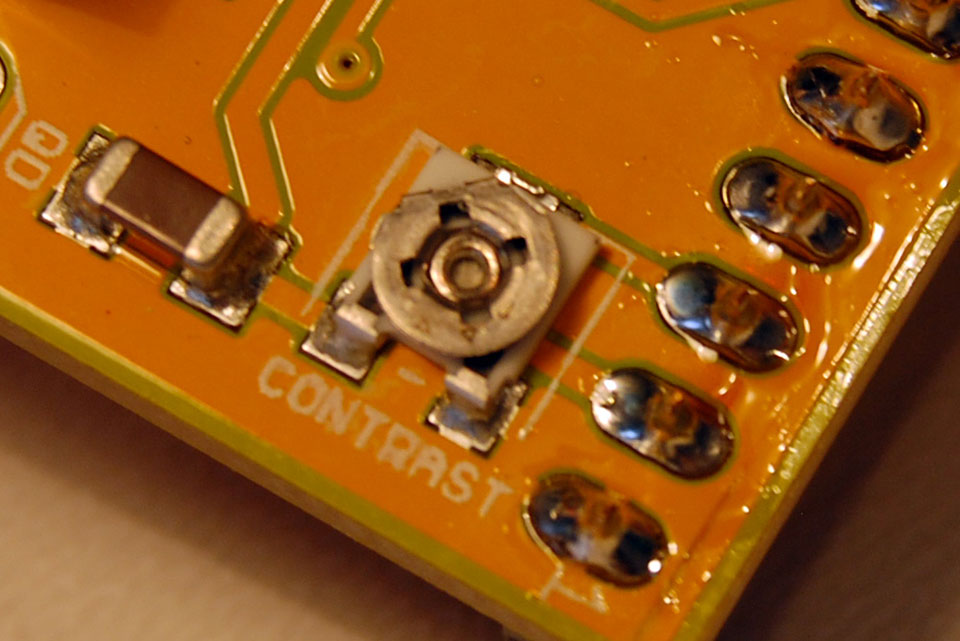
There is also a tiny arrow on top of the trimpot to indicate the position. Adjust it to this position and your LCD backpack is done!